
Neltharus is one of the dungeons in season two Mythic+ rotation. It is a dragonflight dungeon that people have been able to do on normal, heroic and mythic. This season you will also be able to conquer it in M+ as well. This guide is here to help you win the day and time your keys.
You will have 35 minutes from the time you start your key to get 100% and kill all 4 bosses.
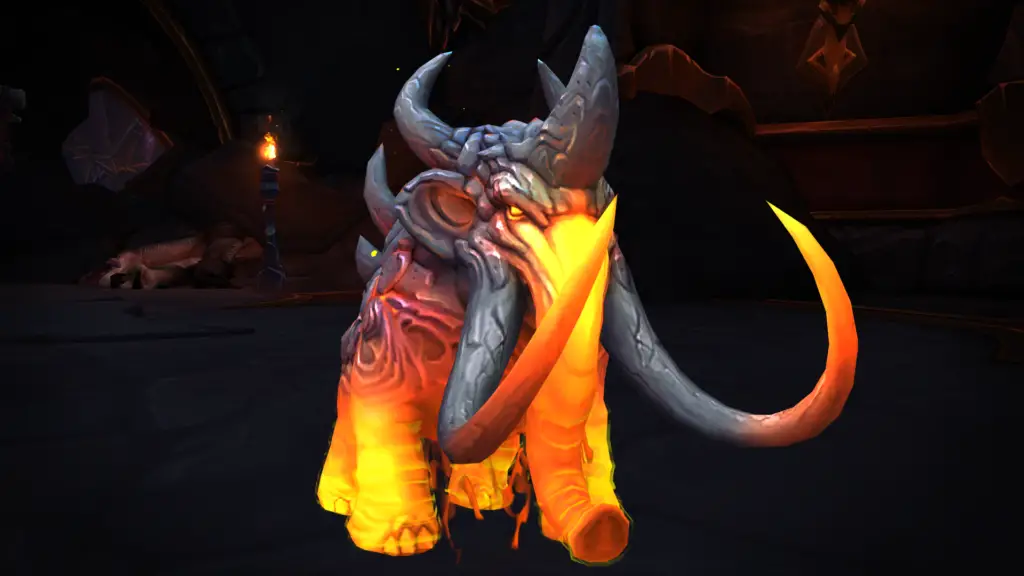
Magmatusk
Most of the trash on your way to the first of four bosses are simple tank trash, avoid frontals and tanks rotate your cds to avoid dying. However there are two notable exceptions that need to be focused and interrupted! The Qalashi Thaumaturge and the Qalashi Plunderer.
Qalashi Thaumaturge: You need to interrupt Molten Core. That is a critical priority as it continually spawns Molten Elementals when not interrupted. It also does Magma Conflagration on a random party member. It cannot be interrupted except via CC such as stun or knockback.
Qalishi Plunderer: Spawns a swirl under the feet of a random party member with Explosive Concoction. Move to avoid damage.
This boss is a very large Fire Elephant and is a sort of DPS race, kill him before the fight becomes uncontrollable due to his mechanic Magma Tentacle. The longer the fight goes on for the more waves the boss releases each charge.
Spread out to avoid the Magma Lob and move out of any swirls it spawns.
Spread out and move out of Lava spray, which focuses on a party member and shoots a large lava cone towards them.
Move the boss out of any fire/lava pools on the floor, while in a pool he gains a 50% damage increase.
Avoid the charge. The boss will turn and charge into a wall, when he does it he will spawn Lava waves from himself.
Chargath, Bane of Scales

After you defeat Magmatusk you will jump off the ledge to the side of the room and land in a large circle area, avoiding the grates as they deal damage while standing on them. Making your way to Chargath you need to be careful of several new mob types, Qalashi Trainee, Qalashi Hunter and Overseer Lahar.
Qalashi Trainee: Never stand in front of these as a DPS or tank as they do a frontal attack, it can be avoided as a tank, move out of the cone when casting and stay out until the cast finishes. Tanks NEVER face them towards your party. These mobs do require being soothed as they cast Fired UP which increases their haste by 50%
Qalashi Hunter: Watch out for the bleeds left on random party members by Bold Ambush, everyone needs to move out of the swirls from Binding Spear. If anyone is caught by a swirl they are pinned to the floor and CCed until the spear is destroyed.
Overseer Lahar: Interrupt Burning roar which knocks everyone back, deals damage and interrupts any spell casting, it is very important to interrupt. Healers make sure you dispel the tank when Imbued Magma hits them. Always face this mob away from your party and never stand on the tank. He does an unavoidable tank slam that hits in a radius around him. It will also spawn several fire swirls around him that must be avoided.
After the trash mobs have been dealt with you will find yourself facing Chargath, the second boss.
Move away from the Grounding Spear, there will be a chain between you and the spear that the Tank must kite the boss through to trip him. Once the tank has kited the boss through all three chains the boss will become stunned and take increased damage.
Each time the boss goes through a chain the entire group takes damage so watch the party HP before breaking a chain.
The boss fixates the tank and begins pummeling him with Fiery Focus. This does large amounts of damage and damage in a 6 yard radius around the tank. Move away the tank as he kites the boss through the chains.
The only way to stop Fiery Focus is to run him through 3 chains.
Avoid the waves and swirls around the room as they spawn.
Forgemaster Gorek

Once Chargath is defeated make your way to Forgemaster Gorek, on the way watch out for the Qalashi Irontorchs, Irontorch Commander and Forgewrought Monstrosities.
Qalashi Irontorch: Interrupt More of Combustion! It targets a random party member and puts a large dot on them. If it is not interrupted make sure the healer dispels the dot it leaves. If it is not dispelled it explodes on fading and deals damage to everyone.
Watch out for their frontal attack Scorching breath, it should be faced away from the group and tanks should side step to avoid it.
Irontorch Commander: Spread out and avoid being in someone else’s circle and make sure no one is in yours. Avoid the swirls left behind by the Conflagrant Battery.
Forgewrought Monstrosity: Deals continual group wide damage with Forgewrought Fury. Will require CDs, healing and DPS to nuke it down asap.
Once you are past the trash you will face off with Forgemaster Gorek, the third of four bosses.
Dodge, dodge and dodge. During this encounter there will be continual swirls spawning around the room that need to be avoided.
When the boss runs to his anvil in the middle of the room and begins hitting his anvil use defensive CDs it does continual group wide damage.
After he finishes hitting his anvil he will throw Blazing Aegis at a random party member who will spawn a large X of swirls going out from the player, the Aegis will then bounce to another player spawning them again and finally a third. Avoid all the fire swirls while this is happening.
Tanks watch out for Heated Swings, knock you back and deals large amounts of damage.
Warlord Sargha

After defeating Gorek you will again jump off the balcony into the center room. Between here and the final boss you will deal with some very nasty mobs including the Apex Blazewing and Qalashi Lavamancers.
Apex Blazewing: Tanks should use a CD on Scalding Chomp which deals large amounts of damage to their target. The entire party needs to be ready for Candescent Tempest which is a channel ability that deals party wide damage and pushes everyone back. The damage can be line of sighted.
Qalashi Lavamancers: Interrupt Lava bolts which spam cast at your tank, focus destroy their shield which prevents any interrupt and while active they will continually spawn small mobs that focus the tank. When the shield is destroyed it will do party wide damage.
After the trash is dead you will face the final boss of the dungeon, Warlord Sargha.
The main thing all parties must watch out for is Magma Shield. This puts a large shield on the boss and causes him to do continual group wide damage as well as spawning swirls around the room that must be dodged.
Be warned, the continual group wide damage from the boss while he has the shield on is very large. Be prepared to use defensive cooldowns and healing cooldowns to keep the party alive.
To destroy the shield you must dig into the piles of gold scattered about and throw the item you pick up at the boss dealing large damage to the shield. You throw it with the action button that appears. Once the shield is broken the boss takes increased damage for a short period.
Mobs will spawn during the encounter and focus on a target chasing them. CC these mobs and ignore them; they will disappear once the focus fades. They do leave behind a flame trail on the floor that should be avoided.
Avoid the frontal. It is cast on a random player and is a large cone coming from the boss. The Dragon’s Kiln.
Route Planning
I advise checking the route each week on sites such as Raider.io. These routes are updated weekly depending on the affixes for that week.
Suggested Addons
Mythic Dungeon Tools, gives you the power to create your own routes and check the % of each mob.
MythicPlusTimer, great addon to track % of mobs and the time you have left.
Bigwiggs / Littlewiggs , boss addon that tracks what needs interrupting and when a boss ability is incoming.