This guide aims to offer a comprehensive exploration of the dungeon, furnishing essential details to enhance your likelihood of successfully completing the key. We will delve into all 8 boss encounters, along with the noteworthy trash enemies in the dungeon and their crucial abilities.
Dungeon Mount Drop
If you are looking for more information about getting either Quantum gearor Reins of the Quantum Courser, please check out our guides linked here: Quantum Courser Guide & Quantum Items Guide.
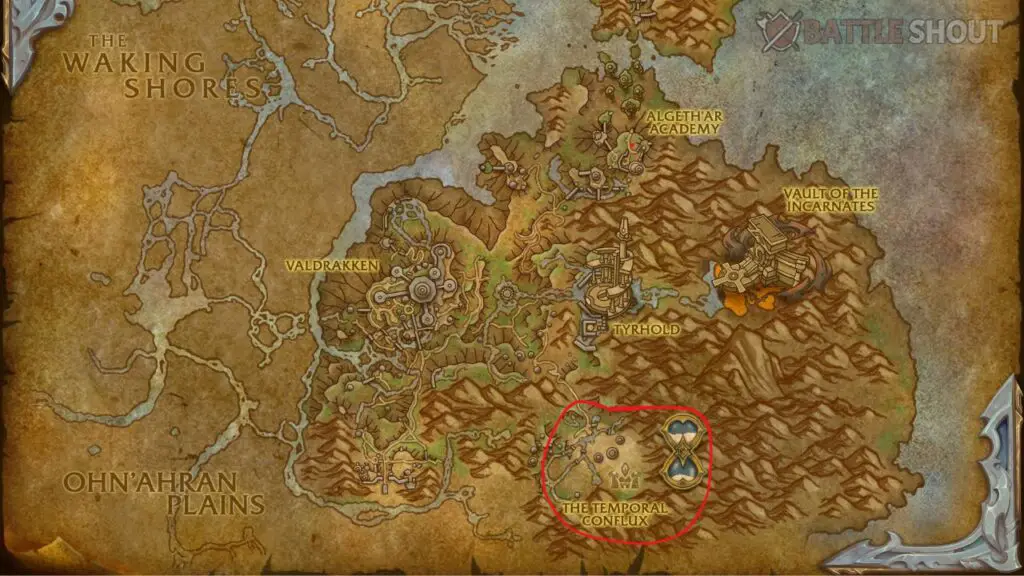
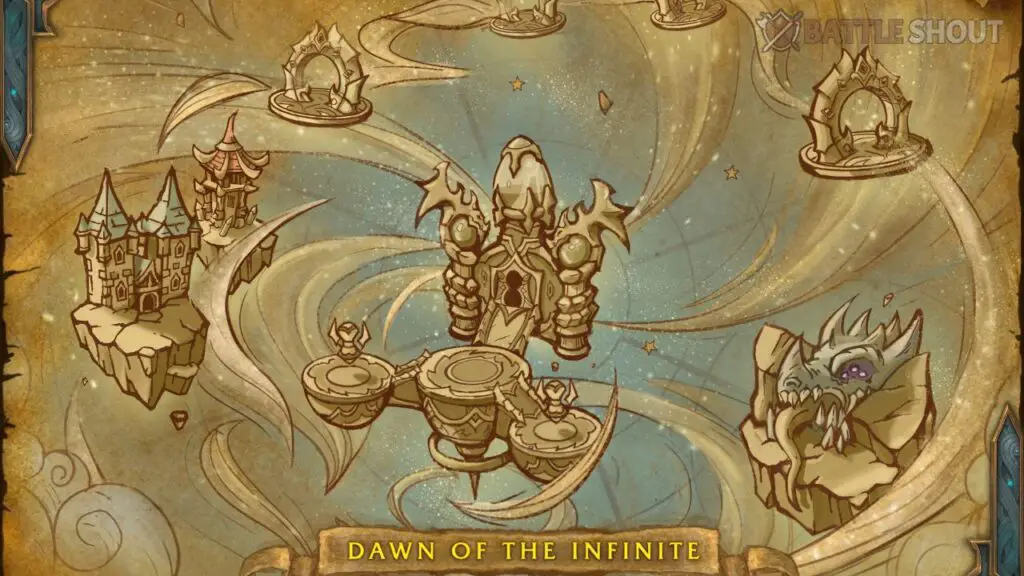
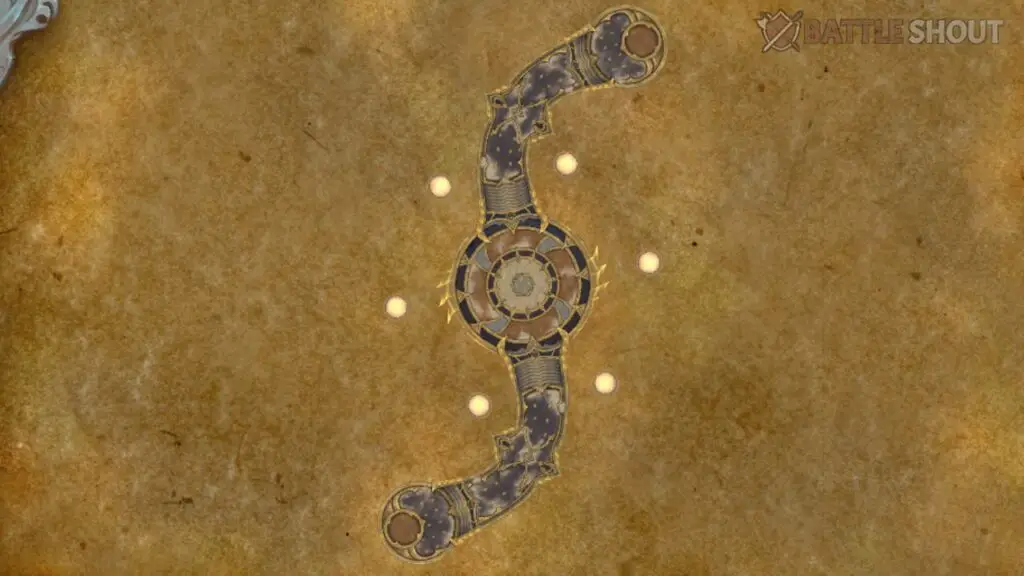
Dawn of the Infinite Dungeon Location
Dawn of the Infinite, situated in Thaldraszus on the Dragon Isles, is a dungeon designed for max-level characters. Swiftly reach the location by utilizing your Dragonriding mount and heading southeast towards The Temporal Conflux (refer to the minimap below). The dungeon offers challenges in both Mythic and Heroic modes.
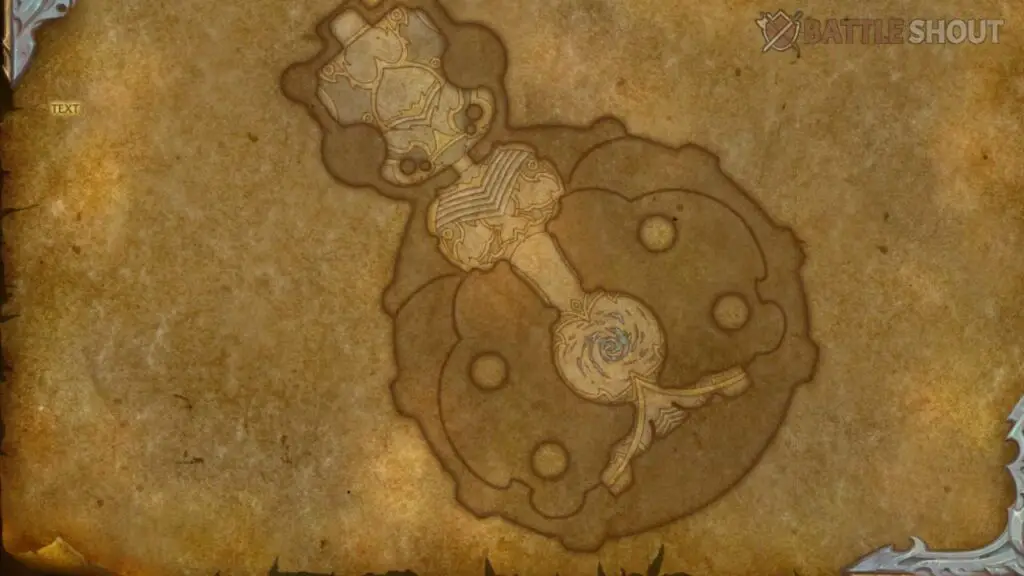
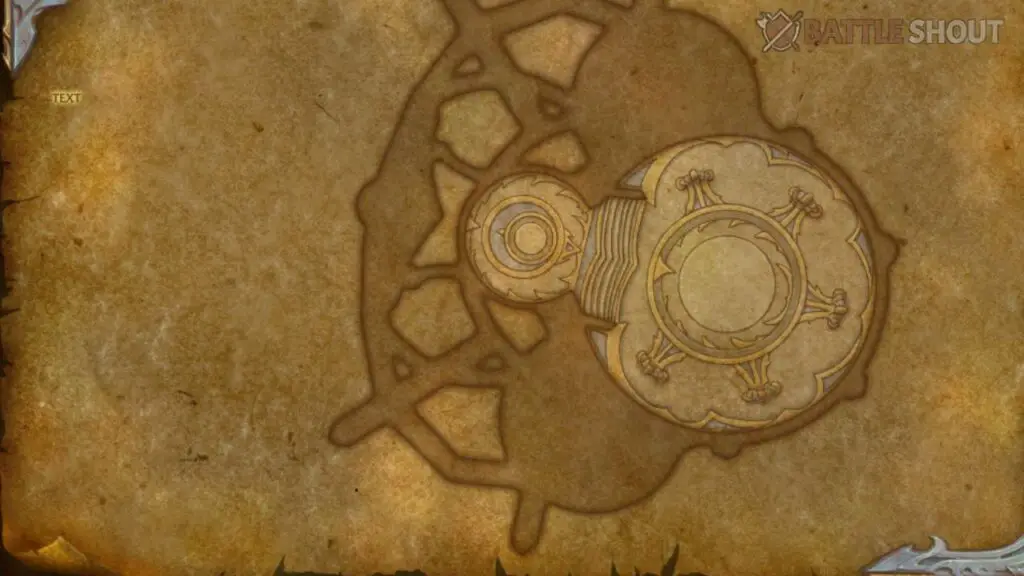
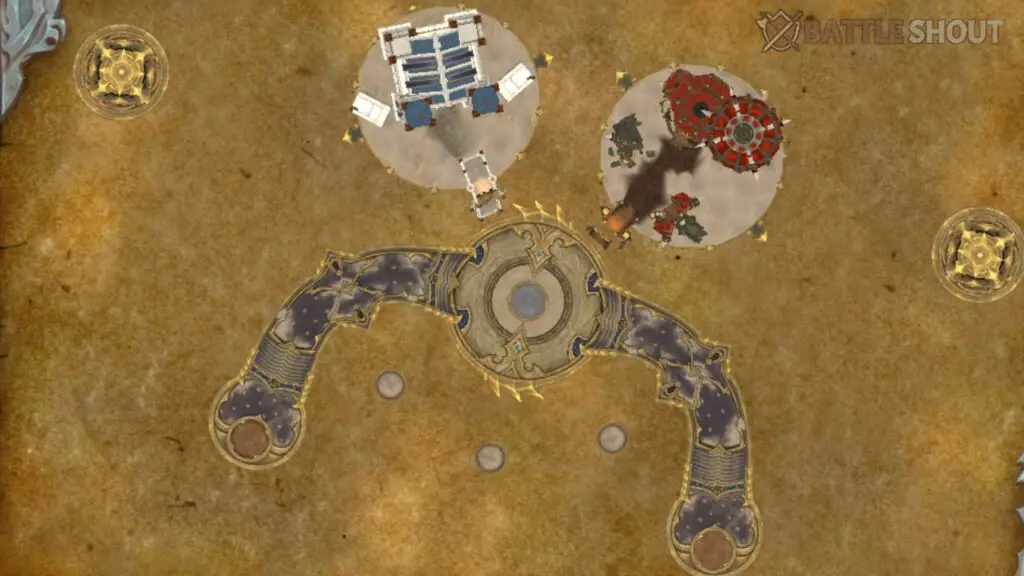
Dawn of the Infinite Dungeon Map Layout – Click to Open
Boss Mechanics for Dawn of the Infinite Dungeon
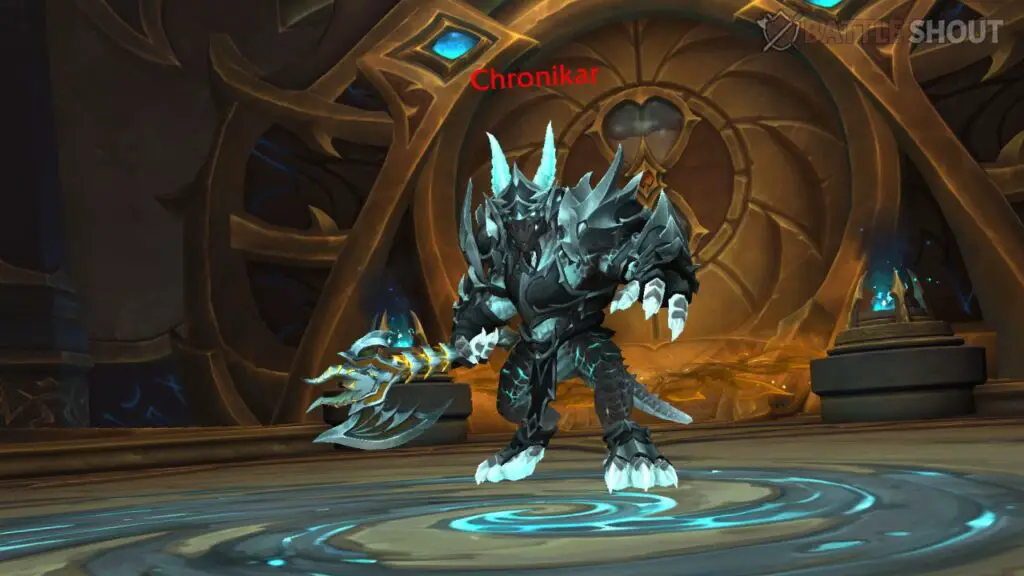
Chronikar Boss Guide
The encounter with Chronikar is a simple boss fight that includes an enrage phase triggered when reaching maximum energy. The key boss ability to be vigilant about is Eon Shatter (occurring at maximum energy), followed by the necessity to handle Eon Residue soaks. Further details are provided below:
All Roles
- After Sand Stomp, strategically position it towards the room’s end for more effective Withering Sandpool management. It is crucial to refrain from remaining within the Withering Sandpool under any circumstances.
- When Chronikar’s energy reaches 100, expect the casting of Eon Shatter on two random members. Dodging the initial ground circle and the subsequent Eon Fragments is of utmost importance. Following this, promptly reposition to soak the Eon Residue before it evolves into Residue Blast, as the latter poses a lethal threat to the entire party.
Tank
- Use your active mitigation before each Chronoshear cast to help your healer overcome the Sheared Lifespan follow-up effect.
Healer
- Be ready to spot-heal your tank during the Chronoshear cast, and be mindful of the follow-up – Sheared Lifespan effect.
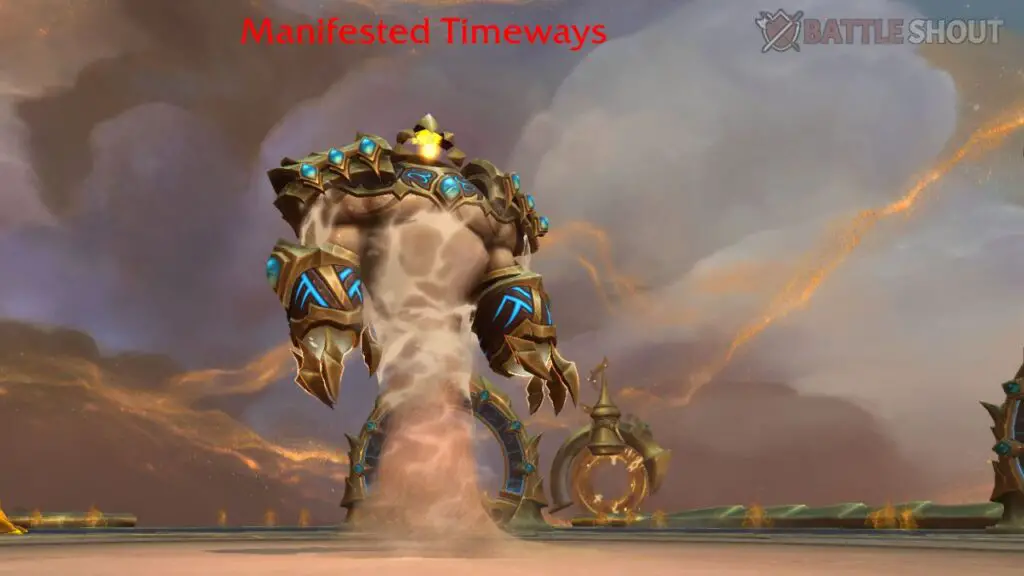
Manifested Timeways Boss Guide
Throughout the entire encounter, the Manifested Timeways will feature Timeways Conflux, effectively altering the boss area into four equal “pizza” slices. Two of these slices will be imbued with the Decaying Time debuff, while the remaining two will host the Accelerating Time effect. Regardless of the chosen slice, continuous damage per second will be inflicted. If you possess the mobility to maintain your rotation while in motion, it is advisable to stay within the Decaying Time slice, where damage occurs every 3 seconds, as opposed to the Accelerating Time slice, where damage is incurred every 1 second. Further details can be found below:
All Roles
- Avoid being hit by the Fragments of Time cast, the projectiles will be significantly slowed if you stay within the Decaying Time “pizza” slice, making it easier to avoid them.
Tank
- Watch out for the Unwind cast, if you are in the Decaying Time “pizza” slice, the follow-up wave will be significantly slower, and this way you will have more time to prepare.
- Make sure you are present in melee at all times to prevent the boss from casting Radiant and therefore wiping the entire party.
Healer
- The boss will apply Chrono-faded debuff to 2 random players, dispel it as quickly as you see it. If you have Priest, ask for a Mass Dispel. Remind your team that the DoT ticks much faster if they stay within the Accelerating Time “pizza” slice, so they should try their best not to be in one.
- Upon dispelling Chrono-faded you will trigger a follow-up effect called Chrono-fade. The Chrono-fade wave becomes a lot easier to dodge if the Dispel happens within the Decaying Time “pizza” slice, making it extraordinarily slow, and this way you can easily avoid it without getting hit.
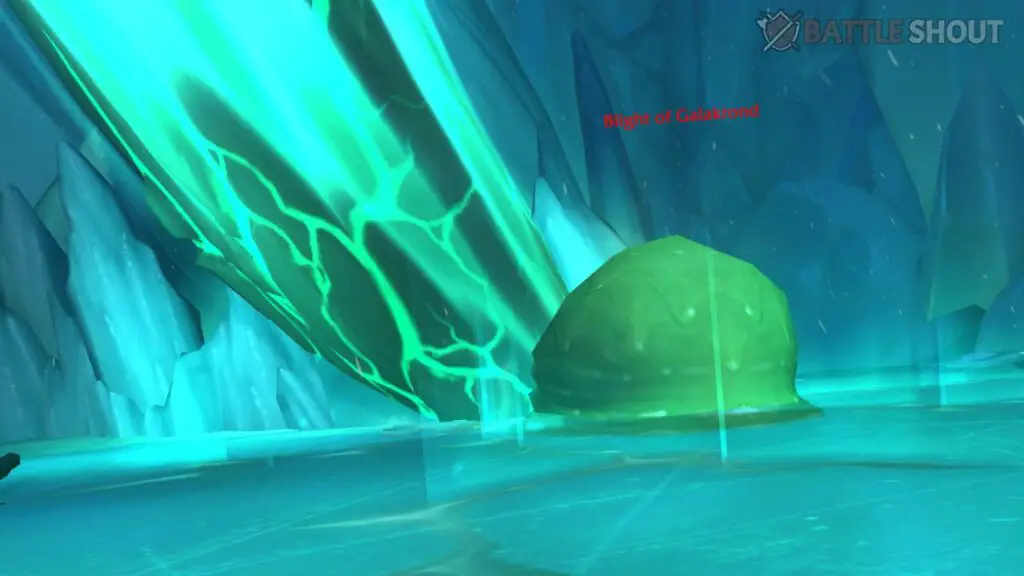
Blight of Galakrond Boss Guide
The Blight of Galakrond encounter unfolds in three distinct phases. In Phase 1, the confrontation with Blight of Galakrond persists until reaching 80%. Phase 2 introduces a clash with Ahnzon, lasting until 50%. Following this, the encounter transitions into the conclusive Phase 3, wherein the adversaries are Loszkeleth and Dazhak. Additional details are provided below:
All Roles
- In Phase 1, steer clear of the Blight Seep and actively evade the ground pools generated by Corrosive Expulsion.
- Upon acquiring the Corrosion debuff from the Corrosive Infusion cast, promptly transfer it through contact to the Tank, as they possess the highest durability. The Blight Reclamation frontal ability can eliminate the Corrosion debuff, and it’s crucial to execute this transfer within 12 seconds to prevent the Corrupted Mind debuff.
- During Phase 2, Ahnzon continues to cast Corrosion and Blight Reclamation. Repeat the clearing process from Phase 1 and remain vigilant for Necrotic Winds, avoiding contact with tornadoes and utilizing defensive cooldowns.
- In Phase 3, all damage inflicted on Loszkeleth affects Dazhak. The Corrosion and Blight Reclamation sequence from Phase 1 continues. Swiftly eliminate Loszkeleth’s Necrofrost, and steer clear of Incinerating Blightbreath to avoid taking damage.
Tank
- In Phase 1, be attentive to the Blight of Galakrond’s movements, as it leaves lingering Blight Seep pools each time it shifts. Exercise caution and minimize unnecessary movement during this phase.
- When confronted with the Blight Reclamation frontal, maintain a stationary position. This approach facilitates the easier clearing of the Corrosion debuff by simply walking in front of the frontal.
- Whenever feasible, stack Loszkeleth and Dazhak together to optimize cleave damage. Focus on taunting and employing mitigation strategies against Loszkeleth, as he is the melee adversary requiring your attention.
Healer
- Apply spot healing to the target affected by the Corrosion debuff in order to prevent their demise.
- Activate healing cooldowns when the Necrotic Winds cast occurs in Phase 2.
- In Phase 3, swiftly replenish the health of players to avert casualties from Dazhak’s Noxious Ejection.
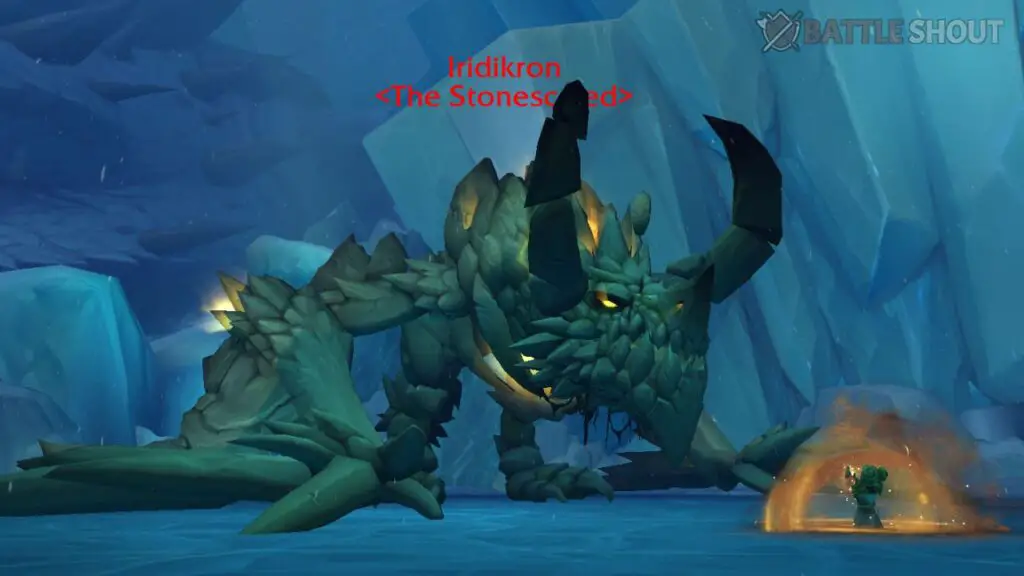
Iridikron the Stonescaled Boss Guide
The encounter with Iridikron stands out as one of the most engaging battles ever crafted, presenting a myriad of challenges for any group seeking a test of skill. The Healer plays a pivotal role, tasked not only with maintaining the party’s health but also ensuring the survival of Chromie. Additional details are provided below:
All Roles
- When targeted by Extinction Blast, position yourself under Chromie’s Timeline Protection to avoid succumbing to the ability. Note that this action renders Chromie more vulnerable due to Exhausted.
- For Stonecracker Barrage, split your team into two groups. All four members should soak the larger circle, while the Tank individually soaks the smaller one. Utilize defensive cooldowns to mitigate damage from the ensuing Stonecrack effect. Following Stonecracker Barrage, Chromie triggers Timeline Acceleration, granting 50% Haste to everyone for 25 seconds.
- During Earthsurge, promptly break the shield while evading Rending Earthspikes and staying clear of ground ichors (Punctured Ground).
- Exercise caution with Pulverizing Exhalation frontal attacks, maintaining close proximity but avoiding stacking directly on top of teammates for optimal Pulverizing Creations spawn. Additionally, interrupt Pulverizing Creations‘ Stonebolt at all costs.
- During Cataclysmic Obliteration, deploy all available defensive cooldowns and gather under Chromie’s Timeline Transcendence. Successfully surviving this phase leads to the defeat of the boss and the successful completion of the encounter.
Tank
- Stay vigilant for Crushing Onslaught stacks and prioritize resetting them whenever possible.
- Swiftly draw aggro from Pulverizing Exhalation to mitigate its impact on the group.
Healer
- Maintain Chromie’s health consistently, as her death guarantees a group wipe. Chromie becomes particularly susceptible when afflicted with the Exhausted debuff, typically occurring at the conclusion of each Timeline Protection.
- Exercise caution regarding the number of stacks endured during Earthsurge and judiciously employ cooldowns when necessary.
- Preserve your healing cooldowns for the Cataclysmic Obliteration channel, ensuring optimal support during this critical phase.
Tyr, the Infinite Keeper Boss Guide

All Roles
- Participate in soaking the incoming Dividing Strike and promptly move out of the ensuing Consecrated Ground lingering pool. Failure to have at least 2 players hit by this ability will result in the boss gaining Titanic Empowerment for the remainder of the fight.
- Steer clear of the Infinite Annihilation frontal cone and its subsequent Consecrated Ground lingering pool.
- Maximize your collection of Temporal Essence during the Siphon Oathstone channel cast. Keep in mind that each Temporal Essence gathered grants a stack of Stolen Time, with a maximum cap of 5 stacks.
Tank
- Exercise caution with Titanic Blow, as it not only inflicts significant damage but also has a knockback effect, potentially propelling you out of the platform if in close proximity. After Titanic Blow, promptly move away from the ensuing Consecrated Ground lingering pool to avoid additional hazards.
Healer
- Swiftly dispel one of the Spark of Tyr debuffs while spot-healing the other. Be cautious, as any form of dispel removes the debuff, and if you have Mass Dispel, seek assistance. Note that dispelling the debuff triggers group-wide splash damage.
- Deploy your healing cooldowns during the Radiant Barrier shield to effectively manage and mitigate the incoming damage.
Morchie Boss Guide

All Roles
- Steer clear of the Sand Blast frontal attack to avoid its effects.
- During the More Problems! transition, swiftly identify the correct version of Morchie. Avoid standing directly in front of her to dodge Dragon’s Breath and prevent acquiring the Sand Buffeted debuff.
- Evade the ground Time Traps to prevent triggering follow-up effects such as Time Stasis and Temporal Backlash. If caught in a Time Trap during Morchie’s Familiar Faces cast, kite the fixates through the Time Traps to suspend them until Morchie releases them.
Tank
- Assist your team in identifying the correct version of Morchie during the More Problems! transition.
Healer
- If any of your team members become ensnared in a Time Trap, promptly dispel the Time Stasis and focus on healing the remaining party members after the Temporal Backlash explosion.
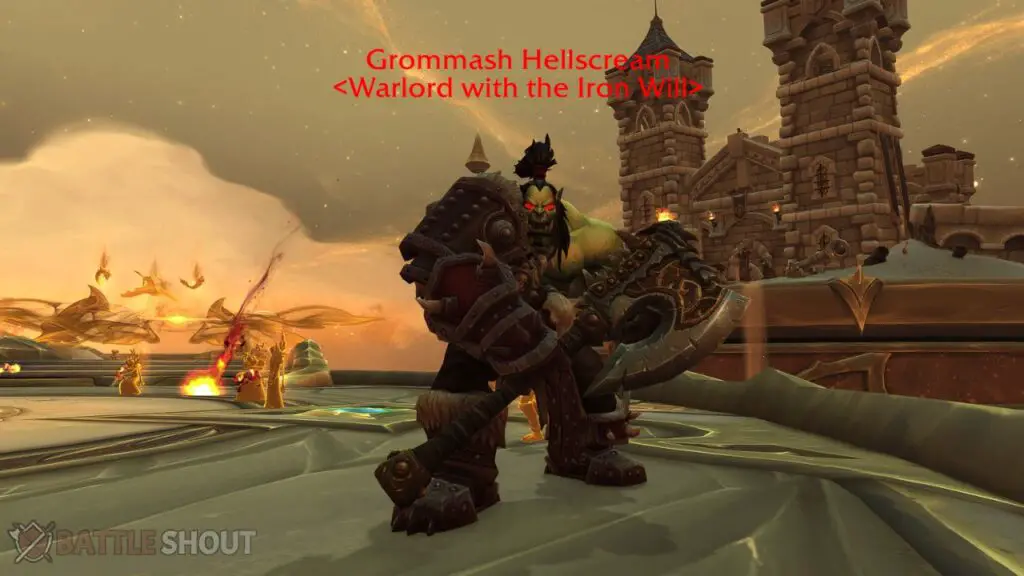
Time-Lost Battlefield Boss Guide
In the Time-Lost Battlefield boss encounter, there are slight differences between Horde and Alliance players. While some of the boss’s spells and NPCs have different names, their functions remain identical. Below, you can find all the distinctions:
- Representing the Horde, you will confront Grommash Hellscream and his three allies – Horde Grunt, Horde Axe Thrower, and Horde Warlock.
- On the Alliance side, you will face Anduin Lothar and his three companions – Alliance Footman, Alliance Archer, and Alliance Conjuror.
All Roles
- Throughout the entire encounter, Grommash Hellscream or Anduin Lothar will summon Horde Grunt, Horde Axe Thrower, and Horde Warlock or Alliance Footman, Alliance Archer, and Alliance Conjuror, respectively. Prioritize focusing on the boss while simultaneously cleaving damage to the summoned allies.
- Avoid taking damage from the Bladestorm ability.
- Dodge the incoming Shockwave attack to mitigate its effects.
- When the FOR THE HORDE! / FOR THE ALLIANCE! spell is cast, the boss will re-summon its fallen allies. Once again, ensure efficient cleaving by targeting both the boss and the re-summoned allies together for maximum effectiveness.
Tank
- Employ your active mitigation abilities when the boss casts Decapitate to reduce and mitigate the incoming damage. This is crucial for maintaining your survivability during the encounter.
Healer
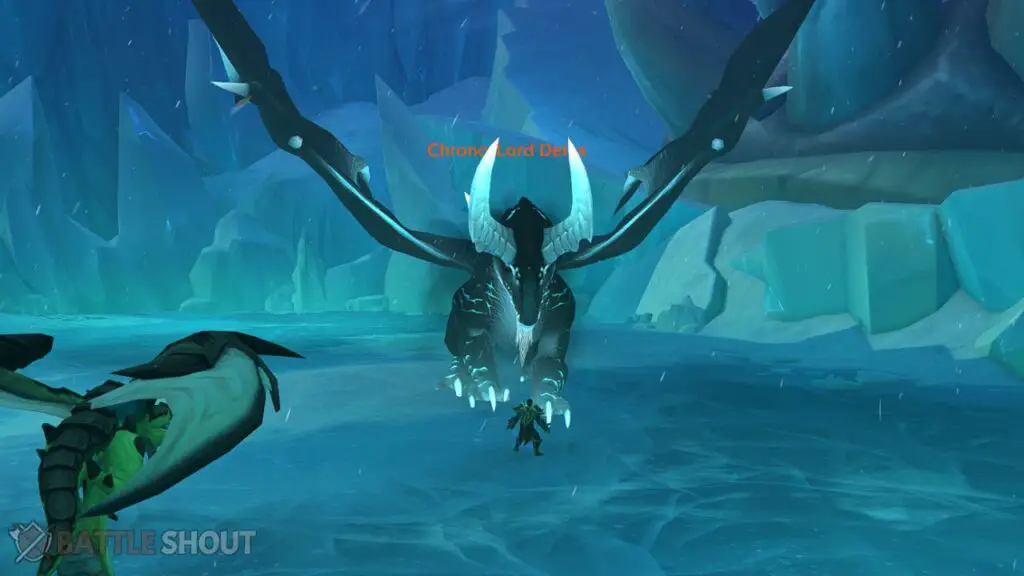
Chrono-Lord-Deios Boss Guide
All Roles
- When the boss casts Infinity Orb, designate one person to soak one of the ground puddles to stagger the second explosion of the follow-up effect, Infinity Nova.
- During the Summon Infinite Keeper channel, coordinate with your team to switch targets and swiftly defeat each Infinite Keeper before they can summon reinforcements, the Time-Displaced Troopers. Note that each Infinite Keeper continuously casts Infinite Blast and Chronal Burn (dispellable). Upon their death, they trigger Collapsing Time Rift, damaging Chrono-Lord Deios.
- In Stage 2: Lord of the Infinite, be cautious to avoid the ground puddles from Infinite Corruption, as they leave lingering Temporal Scar ichors that should be avoided.
- As the boss reaches 10%, Nozdormu will be freed, providing your team with additional powers.
Tank
- Direct the Temporal Breath frontal away from your teammates to prevent them from being affected.
- Bring the boss closer to each Infinite Keeper during the encounter, enabling your party to efficiently cleave and damage them collectively.
Healer
- Given that Infinity Orb recurs throughout the entire encounter, ensure that your cooldowns are readily available in case two of the debuffs go through simultaneously.
- Promptly dispel Chronal Burn if cast by the Infinite Keeper to mitigate its effects on your team.


Leave a Reply
You must be logged in to post a comment.