Not the boss you’re looking for? Check out the Aberrus, the Shadowed Crucible Overview for a list of all bosses and guides!
All of these guides are being tuned as new information about the raid is released. All information gathered from the PTR and subject to change as the raid is nerfed/buffed!

Introduction
Zskarn is a mostly single target fight, with some add clearing interspersed. He is going to try and use the traps around his arena and his mechanical servants to smoke you out. Literally! Watch your feet, defeat golems, and collect tools to keep the room from melting down!
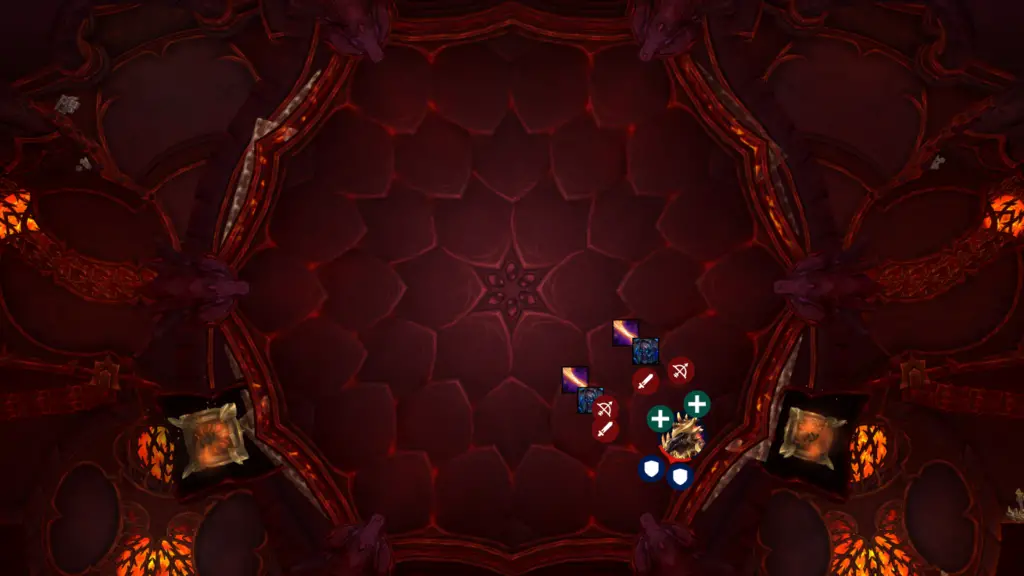
Positioning
Zskarn should be positioned near a Dragon Statue for the beginning of the fight, and be kited clockwise as traps are activated. Keep your eyes open for what traps are active, where the golems are running, and where the statues are facing to avoid getting 1 shot.
Important Abilities
| Dragonfire Traps | Zskarn activates a handful of traps near him, and one random trap. The randomly activated trap can be anywhere in the room, so keep an eye on their positioning. The traps pulse for AoE damage and apply a DoT to anyone that crosses through them. |
|---|---|
| Animate Golems | Zskarn powers up golems to roam around the room and activate traps randomly. DPS Should prioritize these, and pick up the tools they drop. These tools can be used to de-activate traps around the room and buy your raid some space. Clear the traps closer to the middle of the room and in the direction the raid is moving. |
| Tactical Destruction | Whenever Zskarn reaches 100 energy he activates the Dragon Statues around the room. The number of statues increases as the fight goes on, and their cones get larger as well. You’ll have to clear traps pre-emptively to make sure you have room to dodge the breathe. |
| Shrapnel Bomb | Zskarn summons 3 bombs that you have 30 seconds to deactivate them. If any bombs go off, it will deal massive damage to the raid. Either your off tank or people with physical damage immunities should pop these. |
| Unstable Embers | A handful of players will get targeted with an AoE DoT. If you get the DoT, spread away from the raid by at least 5 yards. Otherwise you’ll cause unnecessary raid damage. |
| Blast Wave | This is a knockback originating from the Boss. It applies a DoT and bounces you away a moderate distance. You’ll want to make sure there are no active dragon statues or traps behind you when this goes off, as it can kill you very quickly. |
| Searing Claws | Small DoT that acts as a tank swap mechanic. Coordinate with your Off tank to see who needs to hold, and swap off before the DoT becomes unmanageable. |
Role-Specific Mechanics
There are several things that each raider should be aware of and prepared for. Check below for what each role is focusing on during the fight!
Tanks
Tanks, you will be rotating the Boss to clear portions of the room, while tank swapping and popping Shrapnel Bombs. Be mindful or raid positioning and be sure to not murder your raid!
Healers
There are no dispells on this fight. Just stay on your toes and be prepared to panic heal your slower DPS when the traps get crazy and the knockback ahppens.
Damage
Prioritize and kill the Golems to not only prevent trap spawns, but so that you can break the others as well. Keep out of the fire, don’t kill your raid, and listen to call outs incase your tanks need someone to pop a Shrapnel Bomb.
Conclusion
You’ve toppled the deranged engineer, you and your allies are so close the the heart of Aberrus! Continue on your path, only a few more obstacles stand between you and Sarkareth!