
Underrot is one of the dungeons in season two Mythic+ rotation. It is a Battle for Azeroth dungeon that people have previously done on mythic+.Those that remember it will either have fond memories or nightmares! This dungeon can be great fun if done correctly but can quickly turn into a real mess if people do not follow mechanics. This guide is here to help you know the mechanics so you can enjoy time here.
You will have 33 minutes from the time you start your key to get 100% and kill all 4 bosses.
Elder Leaxa

On dungeon start you will right away face some truly nasty mobs that can easily wipe your group if not prepared and follow mechanics. The most dangerous of these mobs are the Fetid Maggots, Chosen Blood Matrons and Devout Blood Priests.
Fetid Maggots: These do a frontal cone ability towards a random party member called Rotten Bite. Ranged and healers stay back so not in range and melee dps move around the mob to avoid it.
Chosen Blood Matron: These will give you nightmares when you think back to them. They are in fact extremely simple but many do not know how to avoid their bleed damage. They will charge a random player and cast Savage Cleave in their direction. It’s a simple frontal cone attack that if hits leaves a very large bleed. To avoid the damage simply move out of range of the frontal cone, either by moving further back or straight through the mob or to the sides just do not get hit!! They will also buff all nearby allies with Warcry, simply Sooth this to avoid extra damage.
Devout Blood Priests: Interrupt Dark Reconstitution to avoid them healing a mob back to full hp.
Once you have defeated the trash between the start and Elder Leaxa you will have to defeat her, the first of four bosses.
Avoid any blood pools on the floor to avoid gaining more stacks of Taint of G’huun.
Make sure you interrupt as much as possible during the fight again to avoid getting more stacks of Taint of G’huun.
Move out of Creeping Rot, it is a frontal wave, the boss will turn towards a random party member and fire green sludge their direction, move to the sides to avoid it.
When the boss teleports to a random player, move away to avoid extra damage.
Nuke the add down asap! It will mimic all her abilities and make the fight that much harder, it is critical you nuke these down.
Cragmaw the Infested
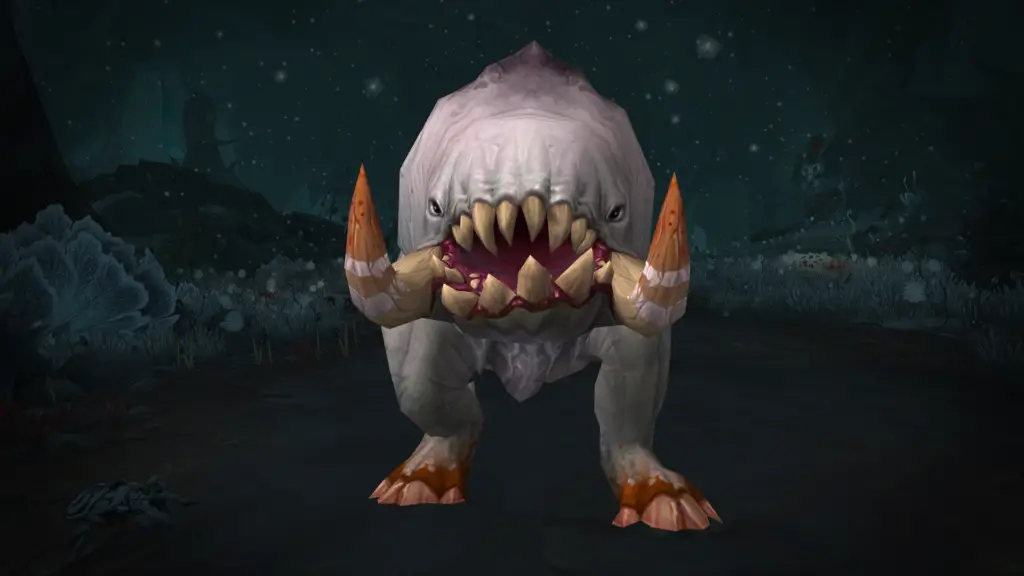
After defeating Leaxa you will make your way into a large oval chamber. In it you will see Cragmore in the center and lots of different kinds of mobs around the outside. Be sure to clear this room before you engage the boss or you will have difficulty during the boss encounter. While clearing the room watch out for Feral Bloodswarmer and Diseased Lasher.
Feral Bloodswarmer: These will focus on a player and chase them down dealing damage to them if it reaches them. Be sure to CC them to help your party and kill them quickly. They will also cast Sonic Screech which interrupt all spell casting. It can be interrupted so make sure you do so.
Diseased Lasher: Must be interrupted! They can stun a party member for 30secs if not!
Once you have cleared out the room of other enemies you will face Cragmaw the Infested.
Keep the boss turned towards a wall away from the party to avoid the frontal attack Indigestion.
When the boss spawns the little blood ticks make sure you kill them all asap by running over them all. Simply run your character over them to kill them.
If you do not kill them they will spawn mobs that bleed and blow up on death, you can be quickly overwhelmed if you do not kill them asap.
Spread out to avoid multiple people being hit by charge. The boss will turn towards a random party member and charge towards them knocking back and damaging anyone hit.
When the boss runs around the room spawning blood ticks make sure you are following running over any ticks that spawn.
Use defensive CDs and healing CDs when necessary during Tantrum, he will do large amounts of unavoidable party wide damage during this time.
Sporecaller Zancha

After defeating Cragmaw you will have many new mob types on your way to Sporecaller Zancha. Watch out for the Fallen Deathspeakers, Grotesque Horrors and Bloodsworn Defilers.
Fallen Deathspeaker: Usually has several skeleton mobs with it and can summon more with Raise Dead, it can be interrupted so make sure you do.
Grotesque Horror: There will be a purple/black bubbling patch on the floor that as you near will spawn the Grotesque horrors. Be sure to interrupt them and watch out if you tank is skipping one, do not run into it by mistake and spawn it.
Bloodsworn Defiler: This guy has three deadly abilities. Withering Curse will channel onto a random party members reducing the damage they deal and increasing the damage they take, be sure to interrupt it. Kill the Summon Spirit Drain Totem as soon as it spawns. If you do not kill it it will stun and deal massive damage to anyone in 6 yards after 4-6 seconds. Interrupt Shadow Bolt Volley.
Once you are past the trash you will come to Sporecaller Zancha, you will find him in the middle of a circle of green rotten mushrooms. These mushrooms are important.
Tank face the boss towards the mushrooms so that his frontal cleave will destroy as many as possible.
DPS and healers never stand in front of the boss and move if the tank turns it towards you.
When you are targeted by Upheaval a large brown swirl will move towards you from the boss, when it reaches you it will stop and after 1 sec explode doing massive damage.
When targeted by Upheaval, move towards the mushrooms and use the swirl to destroy as many as possible.
Destroy any remaining mushrooms by running over them before the Festering Harvest cast. Do this by running over them with a large defensive Cd or immunity. Be warned each mushroom puts a stacking dot on you if you run over it. Best to use immunities to avoid the group wiping.
Use healing CD and defensive CDs when boss casting Festering Harvest, any mushrooms that are still up will explode putting a heavy damage Dot on every party member.
Unbound Abomination

The trash between Sporecaller Zancha and Unbound Abomination is much the same as that you have already faced. There is one that you really need to watch out for though. The Faceless Corruptor.
Faceless Corruptor: Keep these turned away from the party. When they do their frontal Maddening Gaze be sure to step out of it to avoid being Feared. They will also spawn weird tentacles on random party members with Abyssal Reach. Simply move away from the tentacles to avoid taking extra damage. Watch out for the two blocking the entrance for the final boss.
After you have taken down all the trash and have made it to Unbound Abomination the final boss of Underrot you will need to face this guy and beat him. It can be a difficult fight but if you follow the mechanics you will be fine.
This fight is mainly an add control fight. There will be two types of adds that spawn during the fight the Blood Visage and Rotting Spore.
The rotting spores are very weak and can be usually 1 shot by any dps, when they die they leave behind a gray puddle that does damage to anyone caught inside it.
The Blood Visages are what actually does damage to the boss.
When attacking the boss you should notice he takes no damage but his energy fills up, the more damage you do the more energy he gets. At 100 energy he will spawn two Blood Visages.
Each blood Visage is worth 17% of his HP. When they spawn, focus kill them.
Spread out to avoid everyone being him by Vile Expulsion. A frontal cone that targets a random party member. This leaves behind more of the gray puddles.
The entire fight everyone will be getting stacks of a debuff, Putrid Blood. This can be dispelled by the healer or by being inside the Golden circle that spawns on one random player when it expires.
The Golden circle, Cleansing Light, is used to clear debuffs on party members and the gray puddles on the floor. Clear the vicinity around the boss. Get into position and stand still so you party can get inside it and clear their debuffs.
Route Planning
I advise checking the route each week on sites such as Raider.io. These routes are updated weekly depending on the affixes for that week.
Suggested Addons
Mythic Dungeon Tools, gives you the power to create your own routes and check the % of each mob.
MythicPlusTimer, great addon to track % of mobs and the time you have left.
Bigwiggs / Littlewiggs , boss addon that tracks what needs interrupting and when a boss ability is incoming.


