
Not the boss you’re looking for? Check out the Vault of the Incarnates Overview for a list of all bosses and guides!
Introduction
Following the defeat of Eranog, one of the next bosses you can choose is the Primal Council. This is a single phase Council Style fight. This guide is aimed at helping normal and heroic level encounters. You will be expected to kill 4 bosses at the same time while juggling their mechanics to win. Make sure to burn them all down at roughly the same time, as when one dies they begin channeling a devastating attack. Checkout the Primal Council Guide below for some quick tips!
Get ready for the most intense game of Rock, Paper, Scissors you’ll ever play!
Raid Positioning
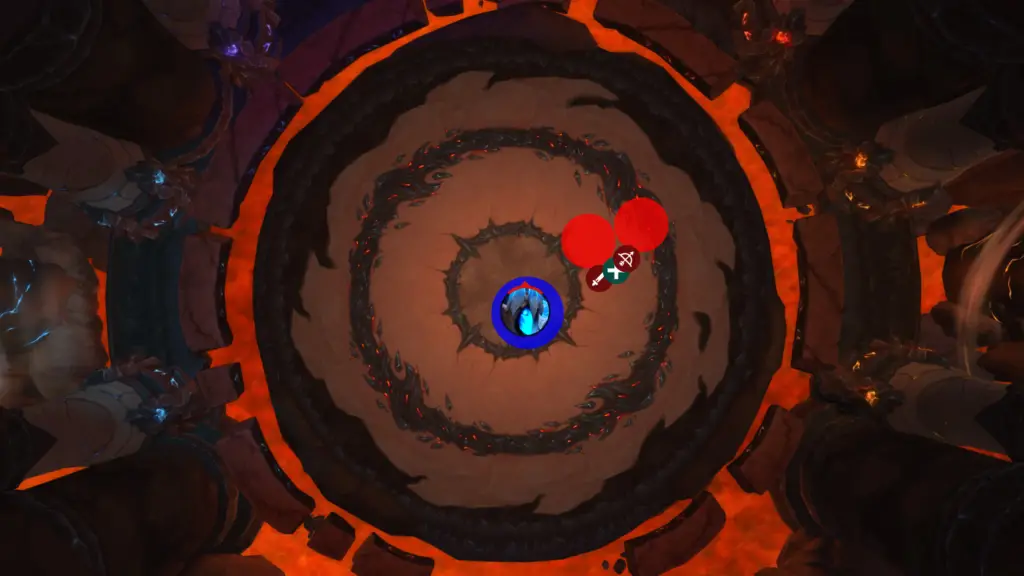
There is no set positioning, as the fight can take many shapes depending on how your tanks are managing and avoiding abilities. Below you will see an example of how my Guild handles the positioning on both Normal and Heroic!

We group the Bosses just off of center, with melee standing on the opposite side from the tanks to avoid cleaves.
Ranged and Heals stand out slightly to bait Pillars and Axes to the middle ring away from the boss. This will cause pillars and lava to spawn away from Melee. As pillars spawn and Lava pools spawn, rotate Clock Wise to stay just out of the lava and pillars.
Tanks will rotate the bosses slowly around the center ring away from any environmental hazards that have spawned.
Important Abilities
There are a handful of abilities that you’ll need to keep an eye out for, with 4 that are unique to their respective bosses, and a few that you just have to avoid. Take a look at the list below to see what each boss does.
Make sure that dps are interrupting Kadros and Dathea as often as possible to assist with positioning.
Kadros Icewrath
Kadros will channel a Primal Blizzard. When this ability begins, he will pull players towards himself, applying a stacking slow debuff and a Fire Resist buff. If you reach 10 stacks, you will be frozen in a block of ice and will have to be broken out by a fellow player. To prevent the freeze, you will need to step into a Pool of Lava created by Embar’s Meteor Axes. I recommend clearing your stacks at roughly 6 stacks. Do not worry about the damage from the Lava Pool, as you take reduced fire damage during the Blizzard.
Kadros routinely casts an ability that will cause him to stand still. Interrupt as often as possible to prevent unnecessary damage.
Embar Firepath
Embar will target 2 players with a Meteor Axe. These axes to massive damage to players in a radius around the target, but the damage can be split by having multiple raiders soak the axe at once.

These axes will destroy any pillars created by Opalfang, as well as leave a pool of lava that can be used to counter Kadros’ Primal Blizzard.
Embar will also do a Fiery Cleave that tanks must point away from each other and the raid.
Dathea Stormlash
Dathea’s main ability is Conductive Mark. Conductive mark applies a DoT effect that transfers to any players within 5 yards of the afflicted players. Spread slightly before this is cast to prevent spreading. The Mark can be discharge by coming into contact with one of Opalfang’s pillars, but this is less consistent on Heroic Difficulty.
Dathea will also cast Chain Lightning. This can and should be interrupted as often as possible.
Opalfang
Opalfang is relatively passive on Normal Mode. The only ability he casts that non-tanks will have to pay attention to is Earthen Pillars. He will target players and attempt to create Pillars beneath them. If you stand in the Pillar you will take damage and be knocked back.
He will apply Crush to tanks, and this is when they should swap who is holding Embar and Opalfang.
Role Specific Mechanics
Tanks
This is a very important Tank Fight. You will try to hold all 4 bosses together, while tank swapping threat of Opalfang and Embar.
Swap aggro after each cast of Crush cast by Opalfang, otherwise you will take excessive damage when you are holding aggro of the other bosses.
Healers
Healers don’t have anything specific to worry about outside of the usual damage mitigation. There is a ton of passive damage going out in this fight, so keep an eye on health levels and discuss with your fellow healers as to when each is using Raid Cooldowns.
DPS
DPS, make sure you are paying attention to mechanics and boss health totals. All 4 bosses will need to die at roughly the same time, otherwise your raid will have a bad time. Dodge things, spec into cleave specs, and make sure to catch as many interrupts as you can.
Heroic Changes Vs Normal
The primary changes in Heroic involve Meteor Axes and Earthen Pillars.
Meteor Axes lava pools now last much longer, and there is a 300% damage increase for overlapping axes. Do your best to make sure you are only soaking 1 axe, not 2 at once.
Earthen Pillars will pulse for Raid Wide damage constantly until they are destroyed by Meteor Axes. This makes it more important to make sure Pillars are stacked closely together so that they can be destroyed with each cast of Meteor Axe.
Conclusion
This is a fun fight to follow Eranog, and really helps prepare players for the Movement involved in the next boss. Dathea, Ascended. Continue down the hall and pursue Dathea before she can be granted Razageth’s power! Journey well, Heroes!
Was this guide helpful? Were you able to overcome the struggles of The Primal Council? Let us know, and check out our Vault of the Incarnates Overview Here!